
This site is a participant in the Amazon Services LLC Associates Program. We are compensated for referring traffic and business to Amazon and other companies linked to on this site
Home canning is a great way to preserve fresh food and to the family to enjoy delicious and healthy meals at any time.
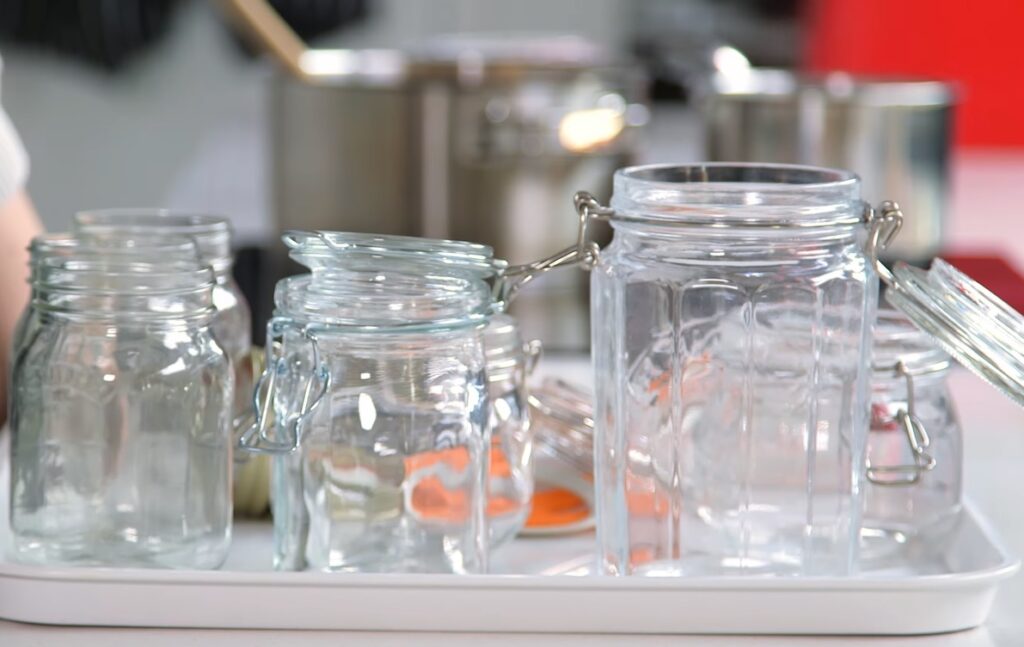
In order to ensure the success of this process, attention is required to prepare the utensils in a healthy and appropriate way before using them in canning.
In this post , I’ll explain how to prepare utensils before using them in home canning, where we’ll learn the basic steps to follow to keep food safe and ensure perfect results.
How to clean utensils before using them in home canning?

Preparing utensils prior to use in home canning is a critical step to maintaining food quality and safety. By following a few simple steps, you can ensure that your containers will be clean and ready to use in the canning process. In this post, I’m going to introduce you to three different ways to clean your pots before home canning.
Use hot soapy water:
- Start by rinsing the pots with hot water to remove surface dirt and food crumbs.
- Put a little mild liquid soap in the dishes.
- Use a soft sponge or brush to scrub the dishes gently, concentrating on stubborn areas.
- Wash the utensils with clean hot water to remove soap residue.
Use of food vinegar:
- Fill the pots with a 1:1 solution of hot water and food vinegar.
- Leave the pots in the solution for 15-30 minutes so the vinegar can remove stubborn deposits and odors.
- Then, scrub the pots with a sponge to remove dirt and stains.
- Rinse the utensils thoroughly with clean, hot water to remove any vinegar residue.
Use of baking soda paste:
- Mix a small amount of baking soda paste with water to form a paste.
- Apply the paste to stubborn areas of the pots, such as burnt spots or sticky dirt.
- Leave the paste on the utensils for a few minutes to build up and work to remove dirt and sediment.
- Use a sponge or soft brush to gently rub the paste onto the utensils, concentrating on the sticky areas.
- Wash the utensils with clean, hot water to remove loosened paste and dirt.
It may be best to repeat this process on more stubborn stains before you can remove them completely.
After using any method of cleaning utensils, you should rinse them thoroughly with clean, hot water to ensure that any detergent residue is removed. Then, dry the pots completely with a clean towel or place them on a rack for good drying.
Remember that good hygiene of utensils enhances food safety and protects it from bacteria and unwanted odours. Store clean utensils in a dry and clean place, away from dust and irritating odors, to ensure their hygienic use in the future.
How to sterilize home canning utensils Before canning?

Sterilizing the utensils before use is a critical step to ensuring the safety and quality of the food. In this section , I will explain to you four effective ways to sterilize home canning utensils, detailing the steps for each method.
Boiling sterilization:
Start by placing the pots in a large bowl filled with cold water.
Heat the water until it boils.
Let the pots boil in the water for 10 to 15 minutes.
Remove the pots from the water using tongs or heat mitts and allow them to dry completely before using them for canning.
Steam sterilization:
Fill a saucepan or saucepan with water that covers the bottom well.
Place the steamer rack or rack in the pot.
Place the pots on the stand without them touching the water.
Cover the pot with the lid and heat the water until it reaches boiling point.
Let the utensils sterilize in the steam for 15-20 minutes.
Wait for the pot to cool slightly before opening it and carefully removing the pots.
Disinfection with water and bleach:
Fill a bowl with warm water.
Add 1 teaspoon of bleach (chlorine bleach) in every 4 liters of water.
Place the utensils in the pot, making sure they are submerged in the solution.
Leave the utensils in the solution for 10-15 minutes.
Rinse off the solution and rinse the pots thoroughly with clean water to remove any bleach residue.
Sterilization with yeast vinegar solution:
Mix 1 tablespoon of yeast vinegar with 4 cups of warm water in a large bowl.
Place the utensils in the solution, making sure they are completely submerged.
Leave the utensils in the solution for 10-15 minutes.
Wash the utensils thoroughly with clean water to remove any residue from the yeast-vinegar solution.
After sterilizing the utensils with any of the above methods, you should allow the pots to dry completely before using them in the home canning process. Store the pots in a clean, dry place until ready to use for your next home canning.
Always remember to use caution when handling chemicals such as bleach and yeast vinegar, and be sure to follow the instructions on the packages.
How to dry your home canning utensils in a correct way?
Properly drying utensils before using them for home canning is a critical step in maintaining the integrity and quality of canned foods. In this part, we will talk about the importance of drying utensils and also the most effective ways to achieve this.
Importance of Drying Utensils Properly:
Drying the utensils properly before canning plays a crucial role in maintaining the integrity of the food and preventing bacterial growth and deterioration.
Why proper drying is important for home canning?
Preventing Bacterial Growth: Moisture left on utensils after cleaning creates an ideal environment for mold and bacteria growth. When the utensils are completely dry, this moisture is removed and the chance for harmful bacteria to grow is reduced.
Preserving the quality of foods: Wet utensils may lead to the absorption of water or moisture from canned foods, which affects their quality and texture. By drying the utensils thoroughly, the flavor and texture of foods are preserved without undesirable effect.
Prevent Cross-contamination: If you store wet or damp containers in a cupboard or container before canning, they may cause cross-contamination of stored canned foods. Drying the containers helps keep the environment in which the home canning process takes place clean.
The most effective ways to get utensils dry and ready for use.
Now let discuss what is the most effective ways to get utensils dry & ready
Natural air drying:
- After washing the utensils thoroughly with soap and water, allow them to dry completely by placing them on a draining rack or clean surface.
- Make sure to arrange the utensils in such a way that they allow air to circulate around them to speed up the drying process.
- The utensils should be in a dry place and away from moisture associated with bathrooms or areas with high humidity.
Drying with a clean towel:
- After washing the utensils, use a clean, dry towel to dry the utensils.
- Gently rub the utensils with the towel to remove moisture from the surface and interior.
- Make sure to use only a clean dishcloth, and avoid using towels that have been contaminated with other chemicals.
Drying by oven:
- Before using this method, make sure your pots are kiln-dryable and can withstand high temperatures.
- Place the pots on the oven rack after cleaning them, and set the oven temperature to a suitable degree for drying (usually between 100-150°C).
- Leave the utensils in the oven until they are completely dry, and be sure to monitor them regularly to avoid exposure to high temperatures that could affect the quality of the utensils.
Fan drying:
- After washing the utensils, bring an electric fan and place it next to the utensils.
- Run the fan on low or medium.
- Place the pots in a location that allows the air flow from the fan around them.
- Leave the pots to dry completely under the influence of the blowing air from the fan.
Sun drying:
- Sun drying is an effective natural way to dry pots.
- After washing the pots, place them in a sunny, dry location, such as an outside patio or balcony.
- Arrange the pots in such a way that they get even exposure to the sun.
- Leave the pots to dry in direct sunlight, making sure to stir them every now and then to make sure all sides are dry.
Additional top tips to make sure utensils are properly dried:
- Check the cleanliness of the utensils before drying. There may be residue or dirt left, so be sure to wash it thoroughly before starting the drying process.
- Make sure the pots dry singly and not piled together. This allows air to flow around each piece and dry faster.
- Use clean, disposable paper towels to dry the utensils. They can be used to wipe down utensils and remove any remaining moisture.
- Before drying, make sure that there are no cracks or damage in the pots. Damage can lead to water absorption and moisture build-up, which hinders the effective drying process.
- Store desiccant pots in a clean, dry place. It is best to place them in a closed cupboard or container designated for storing utensils.
Tips for storing utensils used in home canning in a healthy way
In order for foods to remain fresh and safe for longer, utensils must be stored properly. In this part of the post, I will give you some tips for storing your home canning containers safely and in an organized manner.
Use a clean, dry cabinet:
It is best to store utensils in their own clean, dry cupboard. Ensure that the cabinet is completely clean and does not contain any moisture or insects. Organize the utensils in the cabinet in a convenient way to save space and make them easier to access.
Use protective barriers:
Place protective barriers between utensils to avoid direct contact and avoid scratching surfaces. You can use paper bowls, clean cloth, or even special pot separators. This protects it from spoilage and keeps foods safe.
Avoid accumulation of dust and pollution:
You should avoid accumulating dust and contamination on utensils used in home canning, as this can lead to food contamination and deterioration. Cover the pots or use lids to protect them from dust and possible insects. There may also be special resealable storage bags to protect the pots from cross-contamination.
Separation of pots by type and size:
Organizing utensils in the cupboard according to type and size is one of the effective ways to store them hygienically. Separate different utensils such as glassware from plastic ones and small utensils from large ones. In-cabinet organizers such as pot holders or dividers can be used to keep them organized.
Dry the utensils properly before storing:
Before placing the utensils in the cabinet, make sure that they are completely dry after the cleaning and drying process. Residual moisture may lead to bacterial growth and food spoilage. You can use the aforementioned methods for effective drying of utensils before storing them.
Periodically check the condition of the utensils :
Periodically check the utensils to ensure they are intact and free from damage or breakage. In the event of damage, repair or replace them to ensure the integrity of the food packaged in them.
The importance of checking home canning utensils before use.
In this part of the post, I will explain the importance of checking the utensils before use and highlight the factors that must be taken into account to ensure the safety of home canning.
Detection of cracks and fractures:
The first and foremost reason to check the utensils is to check that there are no cracks or breaks in the utensils . These cracks or breaks can allow air or liquids to escape, causing food to spoil and spoil. Examine the utensils carefully and make sure that there are no visible cracks or fractures that may affect the integrity of the packaging.
Ensure the utensils are stable:
When examining utensils used in home canning, it is essential to ensure their stability. This means that it is necessary to check that there are no deformations or deviations in the structures of the pots that may affect their ability to hold food securely and prevent leakage of liquids.
Maintaining hygiene:
In addition to checking for cracks and breaks, you should also ensure that the utensils are clean before use. Wash the containers with warm water and a mild soap and dry them completely before using them for home canning. This contributes to maintaining the safety of foods and avoiding contamination.
In short, checking home canning containers before use is an essential step to ensuring packaging integrity. Check that there are no cracks or fractures, and ensure that proper atmospheric pressure and stability of the pots are maintained.
Conclusion.
To prepare the utensils before using them in home canning, follow these steps:
- Wash utensils with warm water and soft soap.
- Rinse the utensils well with clean water.
- Dry the utensils completely to avoid bacteria growth.
- Check the pots to make sure there are no cracks or fractures.
- Store the pots in a clean, dry place until use in home canning.